Adding your site to Google is the most important thing after making a blog because it lets the users know about your site when they have searched something related which you served on your blog. There are various search engines like Bing and Yahoo! Search engine but Google still widely used. Adding blog will help Google to crawl and index your blog’s pages and images.
However, Its quite unknown thing for a new blogger but chill, don’t worry. We came up with a step by step tutorial on How to add your blog/site to Google manually.
Add site to Google
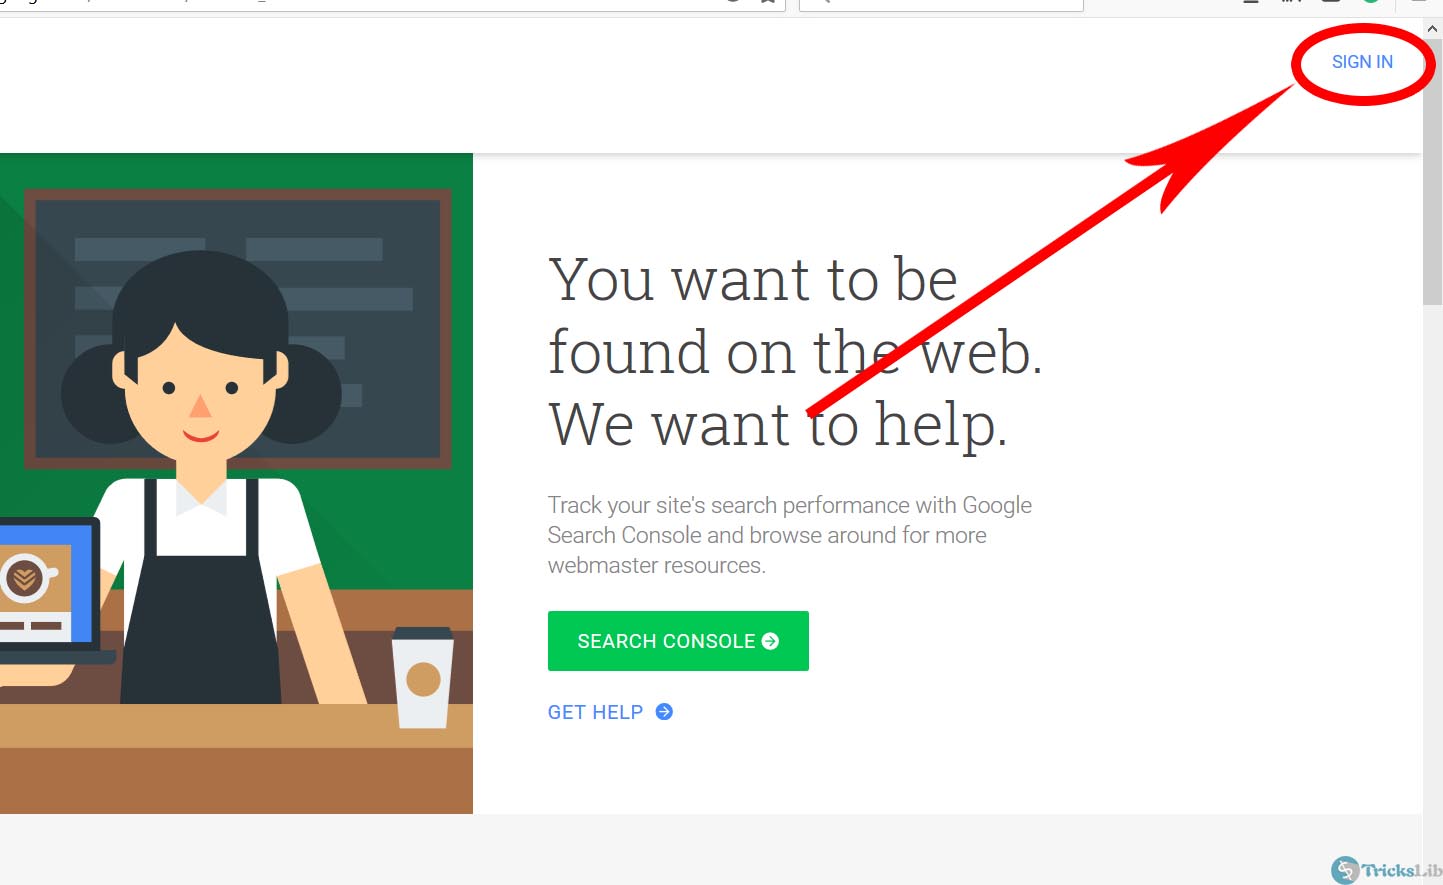
First all, open this link in a new tab then you’ll need to login to your google account, and login link is highlighted in below screenshot.
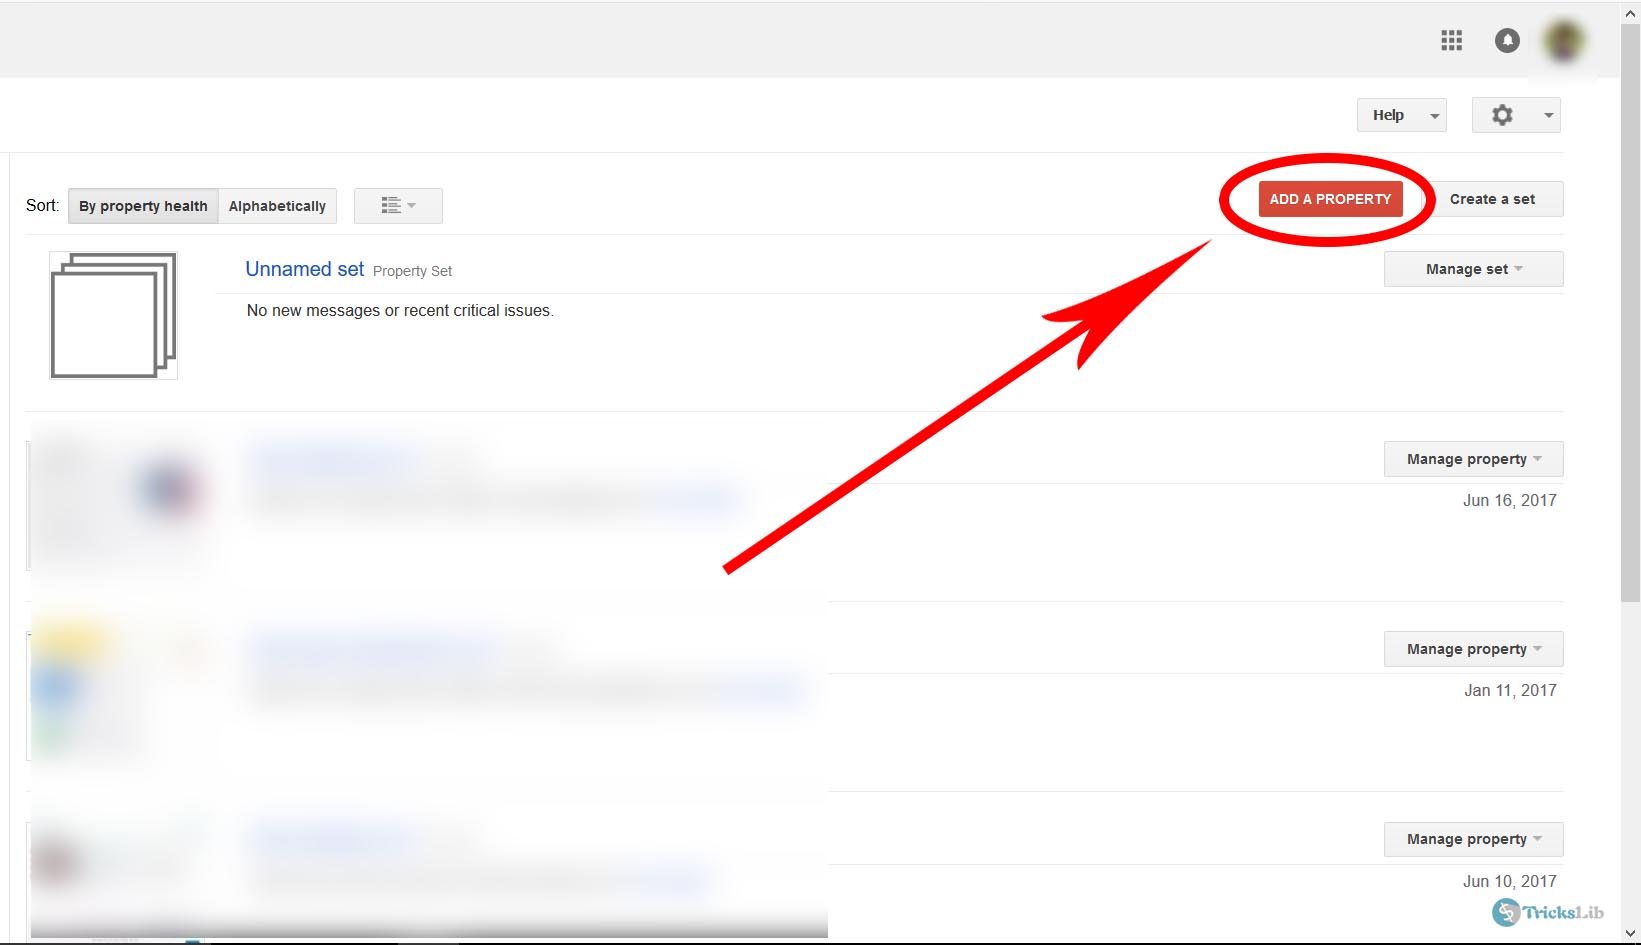
The account panel will look like below screenshot. To add your blog, click on that red highlighted button.
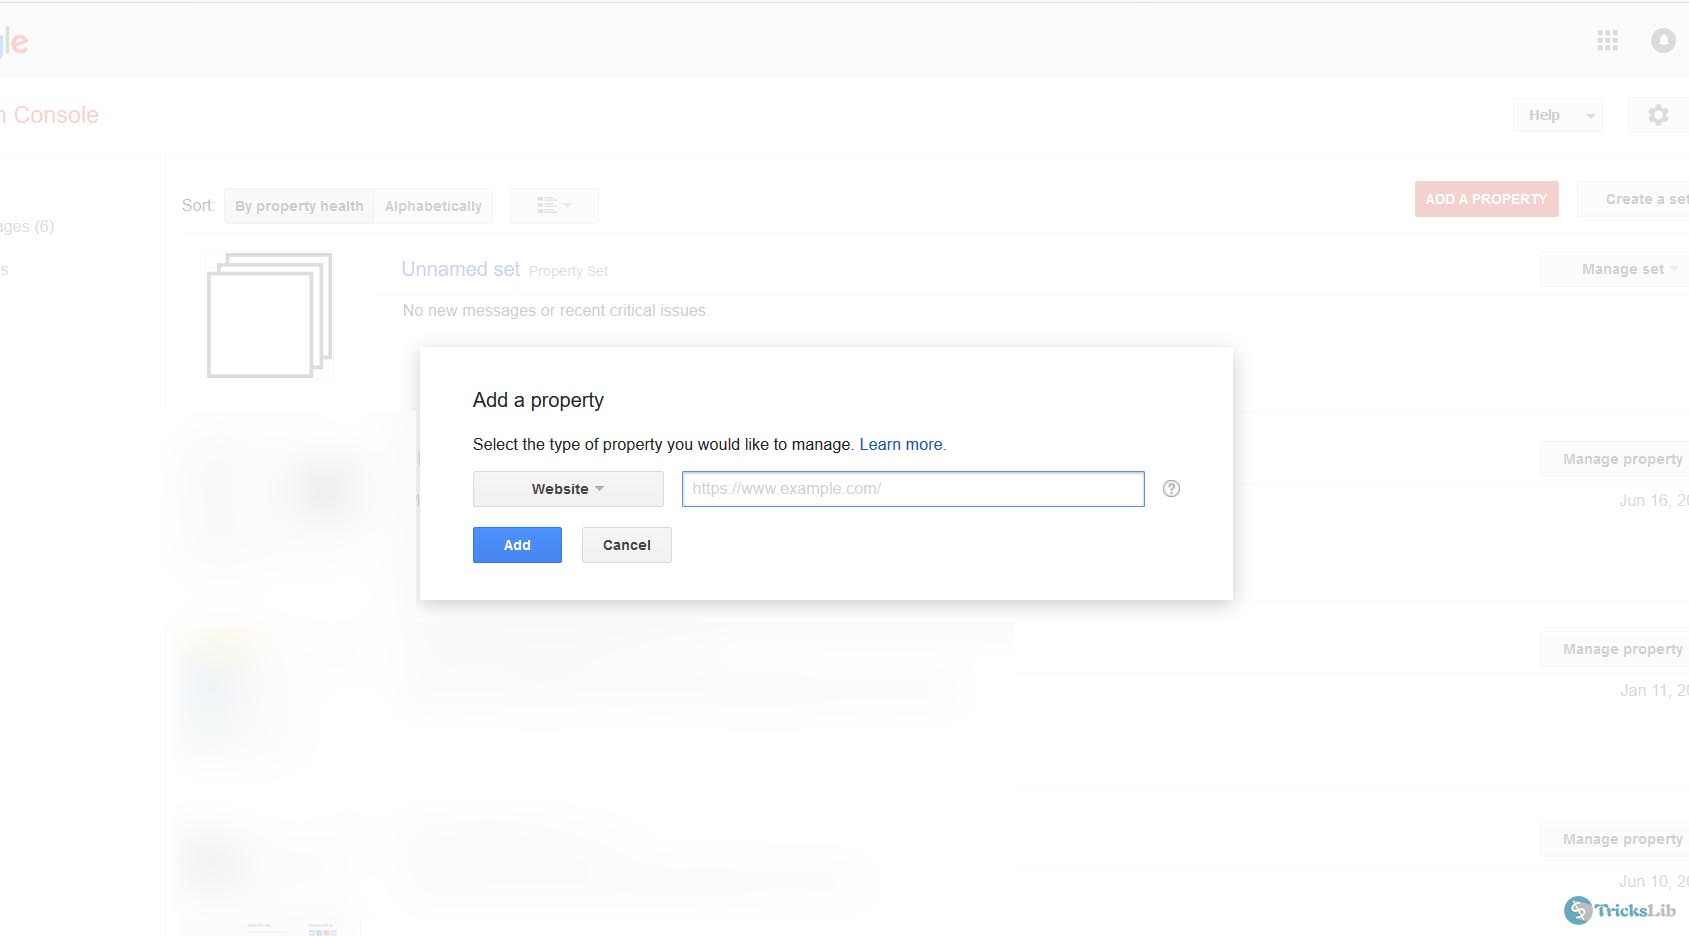
There you will have two options, website and app. A website is by default selected, ignore it and enter your blog’s URL in the box and click on Add to add your site.
Now you will be asked to verify your site. There are five methods available to verify your site. Google recommends the first method since it is the easy method. Choose any method to verify, follow guidelines given there then click red highlighted Verify button.
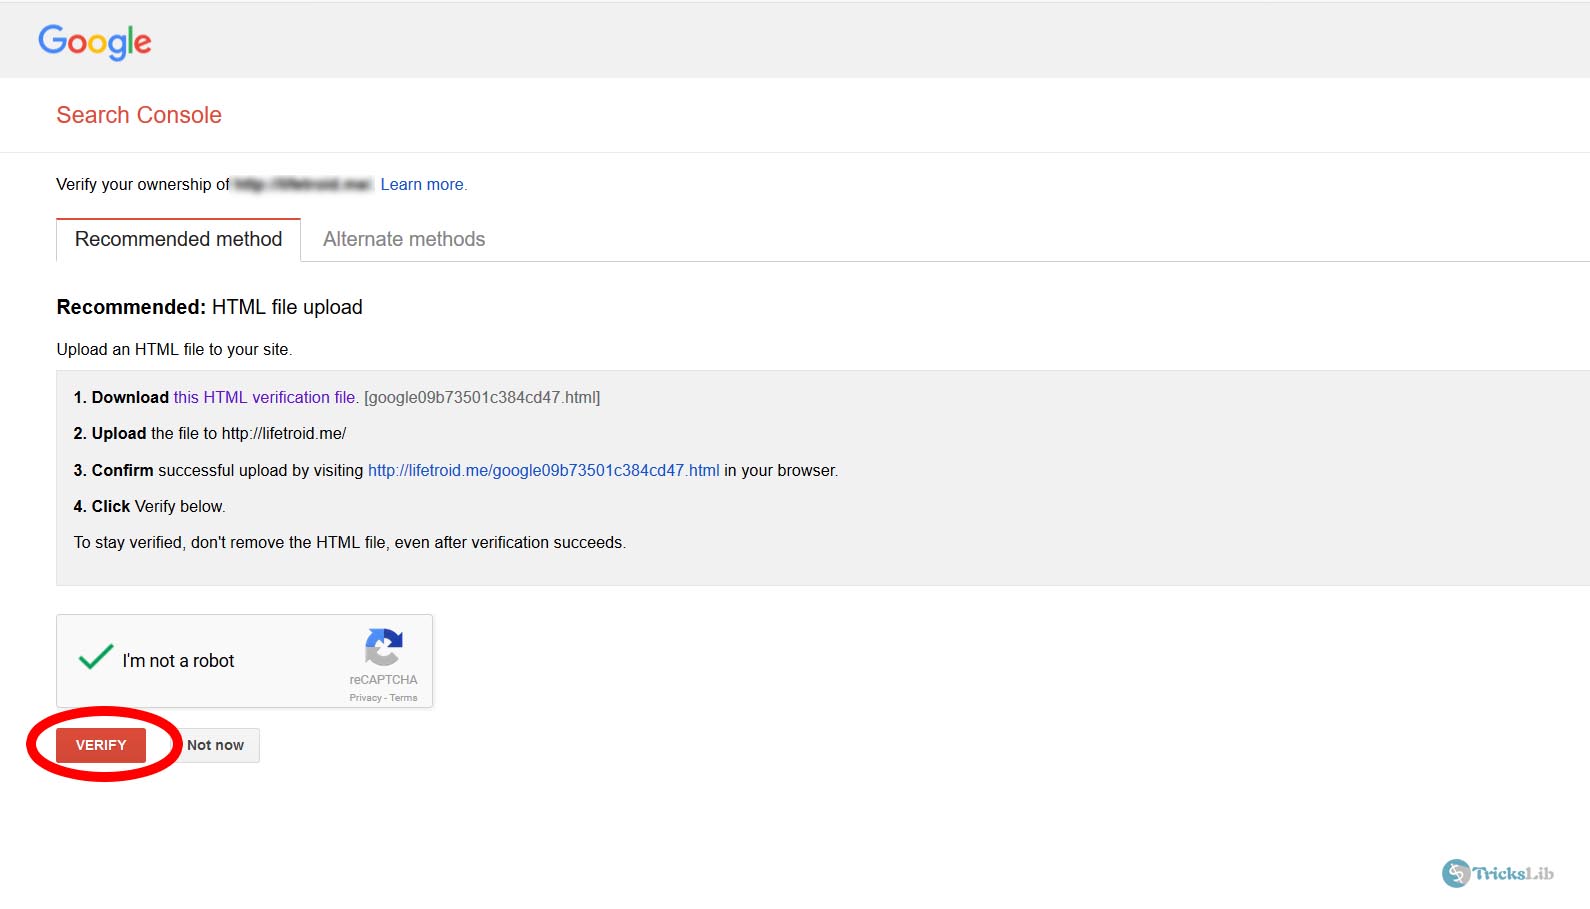
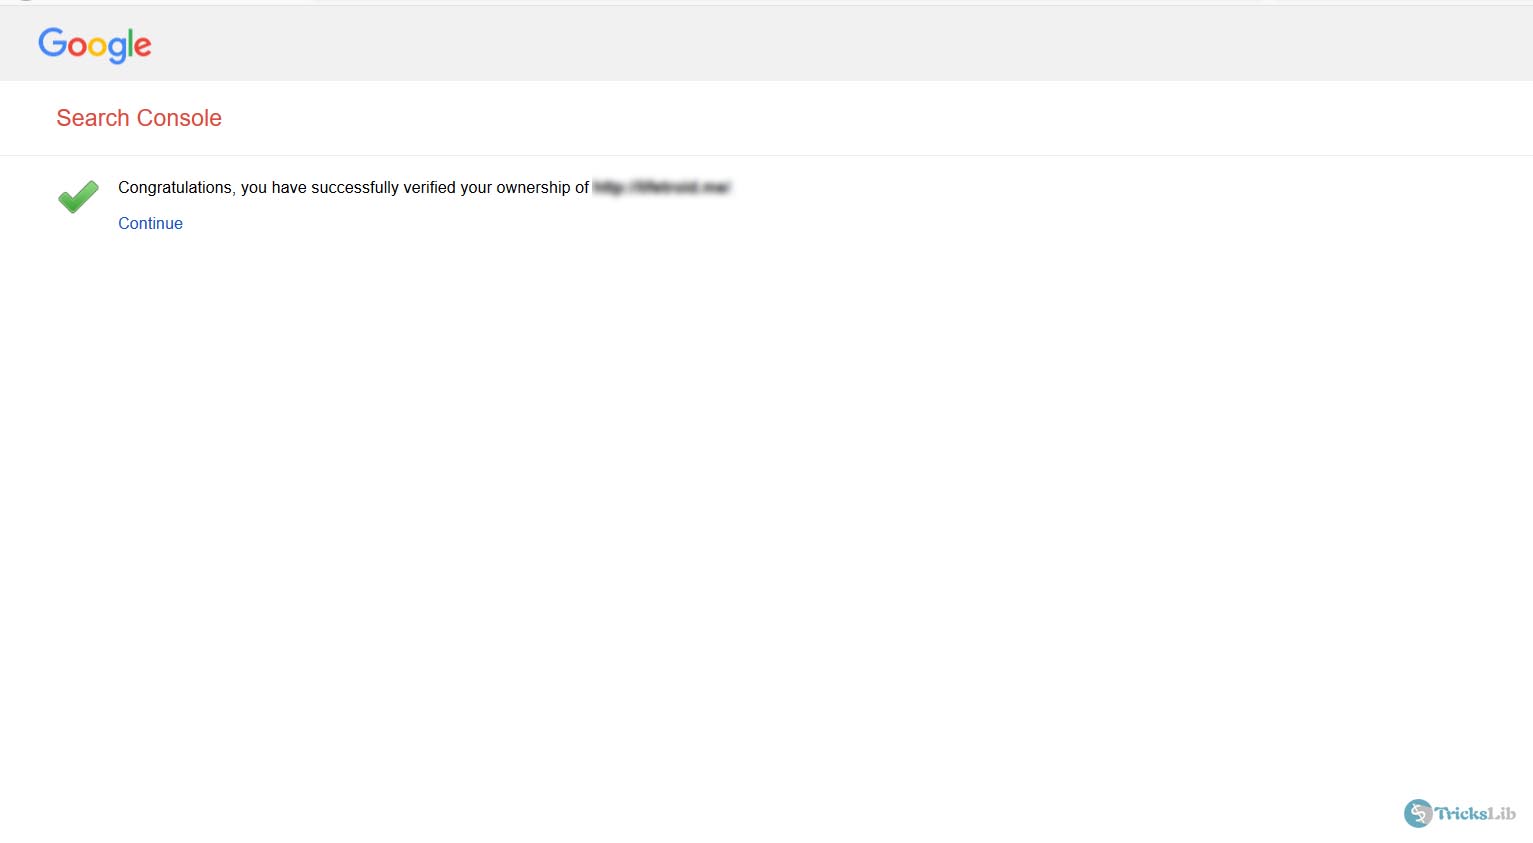
Getting on the page like the below screenshot means that your site/blog is added to Google and now will be crawled and indexed in quite long time but not much.
The next important thing after adding your site is adding a sitemap on google which helps to crawl your blog/site.