Having a new growing blog, you may have fears of bot visits, hacking attempts and unwanted spammers and Cloudflare CDN used to get rid of that. Cloudflare blocks the malicious visits to their servers and prevents them to visit your site.
Cloudflare has both free and paid plans for users. However, the best feature “DDoS protection” also comes under the free plan. Cloudflare also increases the speed of your website. It also saves the bandwidth and the efficiency
However, setting up Cloudflare CDN is quite difficult and confusing. So here, we have a complete tutorial to setup Cloudflare for your website.
Open Cloudflare in a new tab and register an account there or if you already have an account there, login to your account.

You’ll see ‘Add a Website’ field there.You can add single or multiple sites. To add multiple sites, separate sites with ‘,'(comma) then click on ‘Scan DNS Records’ to go on. After clicking, it will redirect you to page like below screenshot.
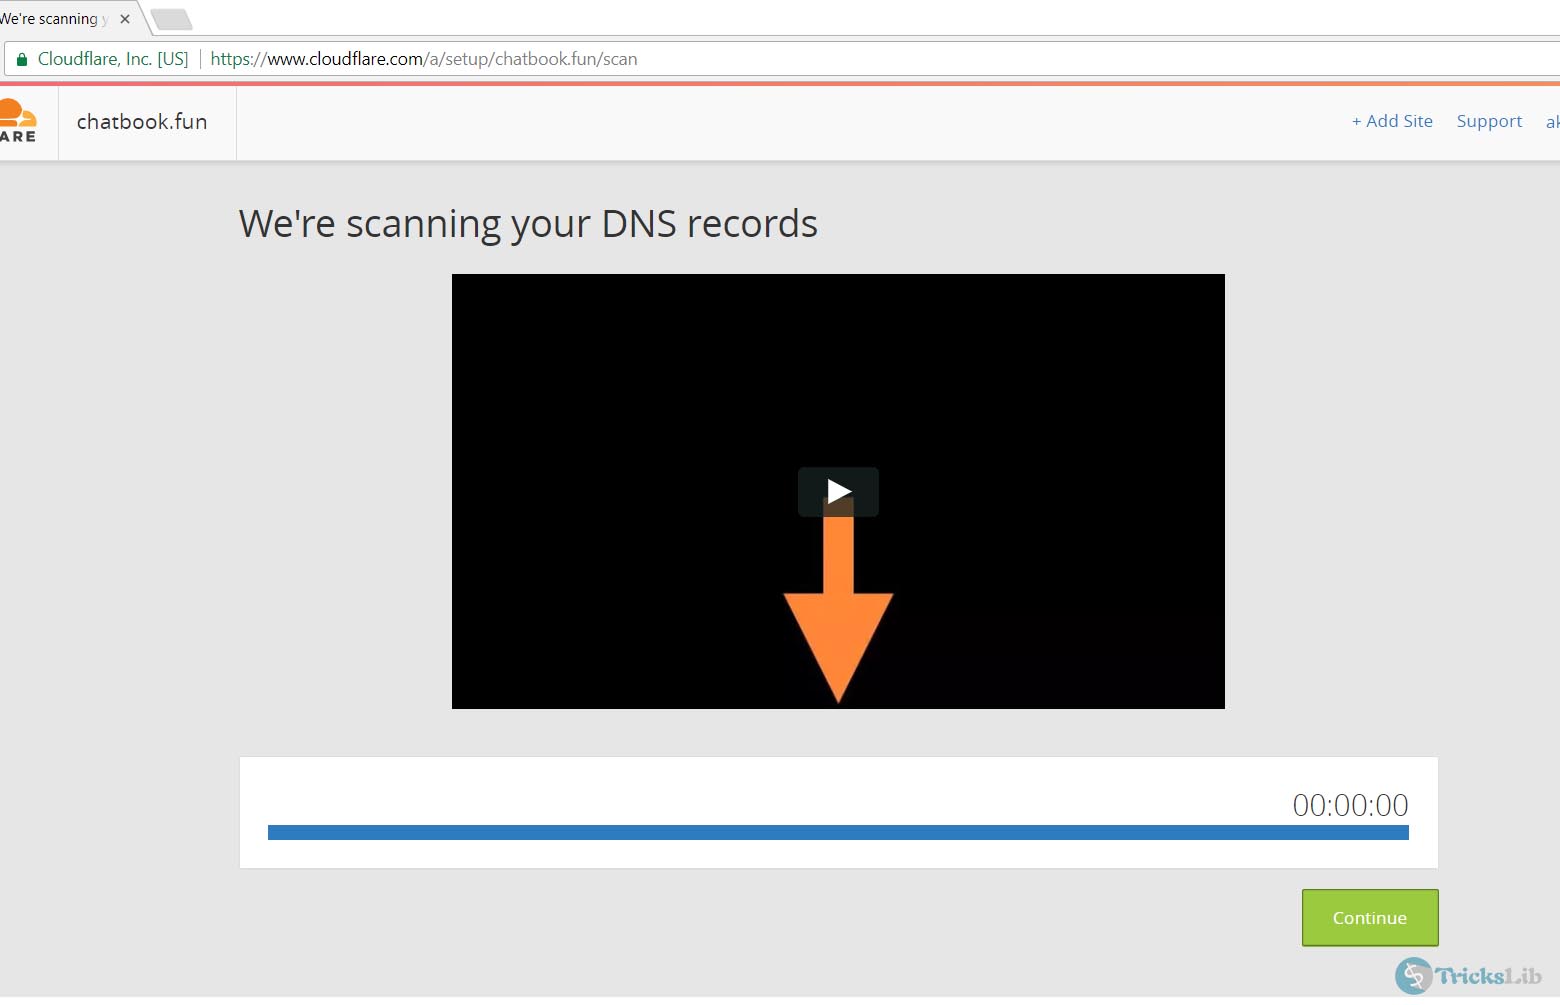
It takes time up to 50-60 seconds but sometimes it takes more time than that. But once the scanning process finishes, your current DNS records will be shown there.
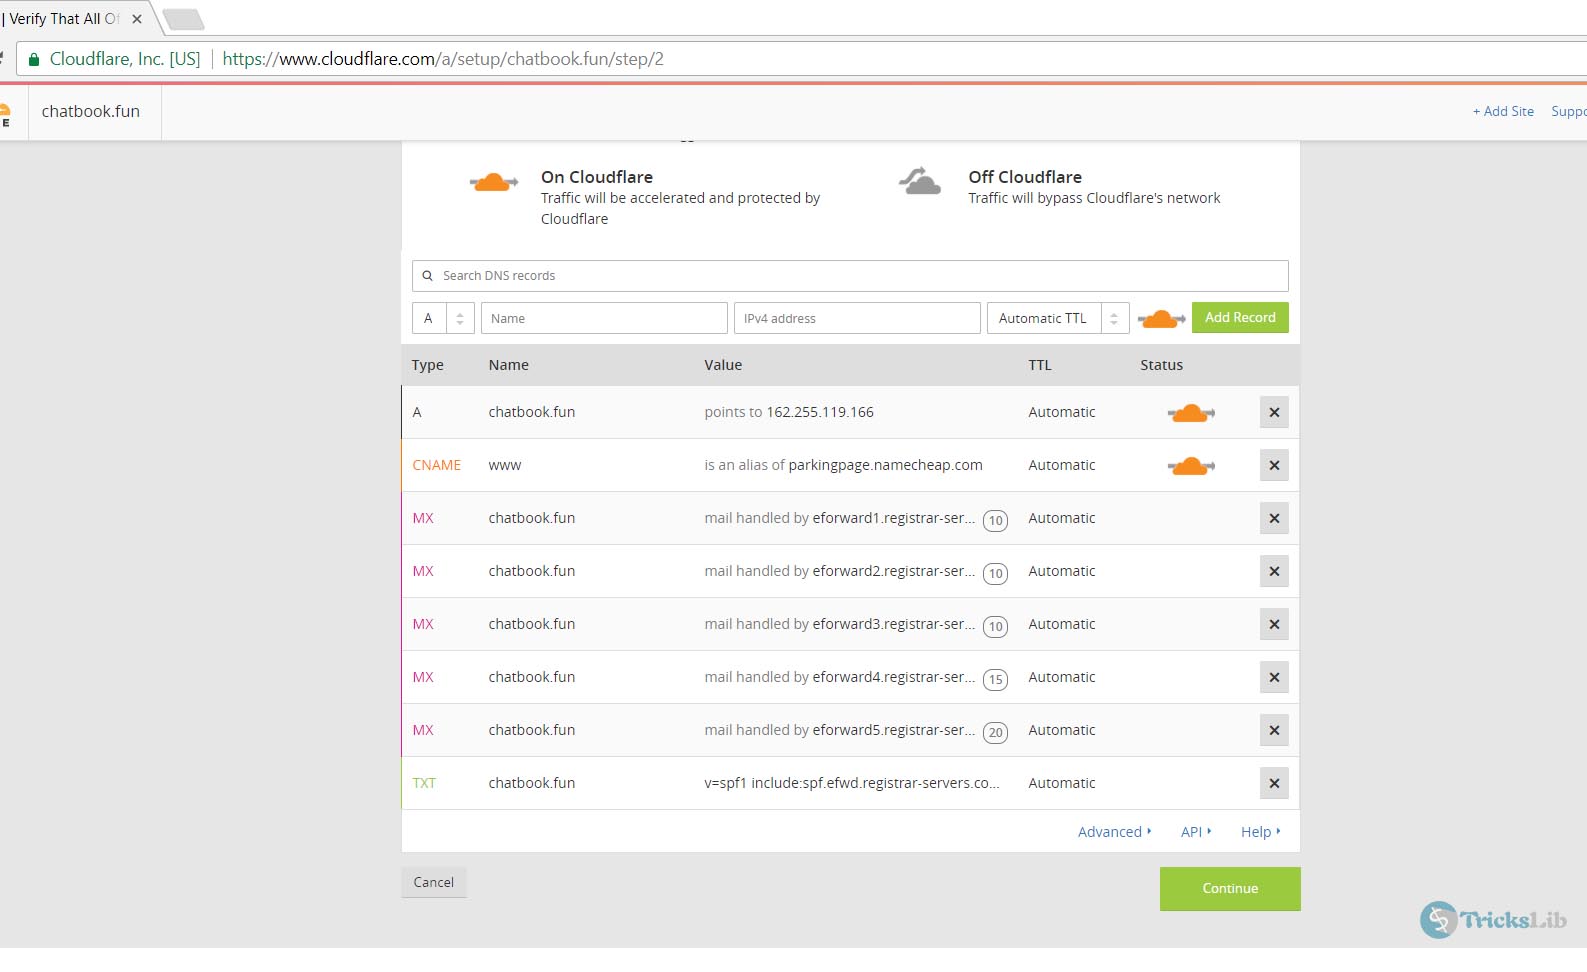
Don’t do anything with these records and simply click on ‘Continue’ to continue to process. It will take you to page like below screenshot.
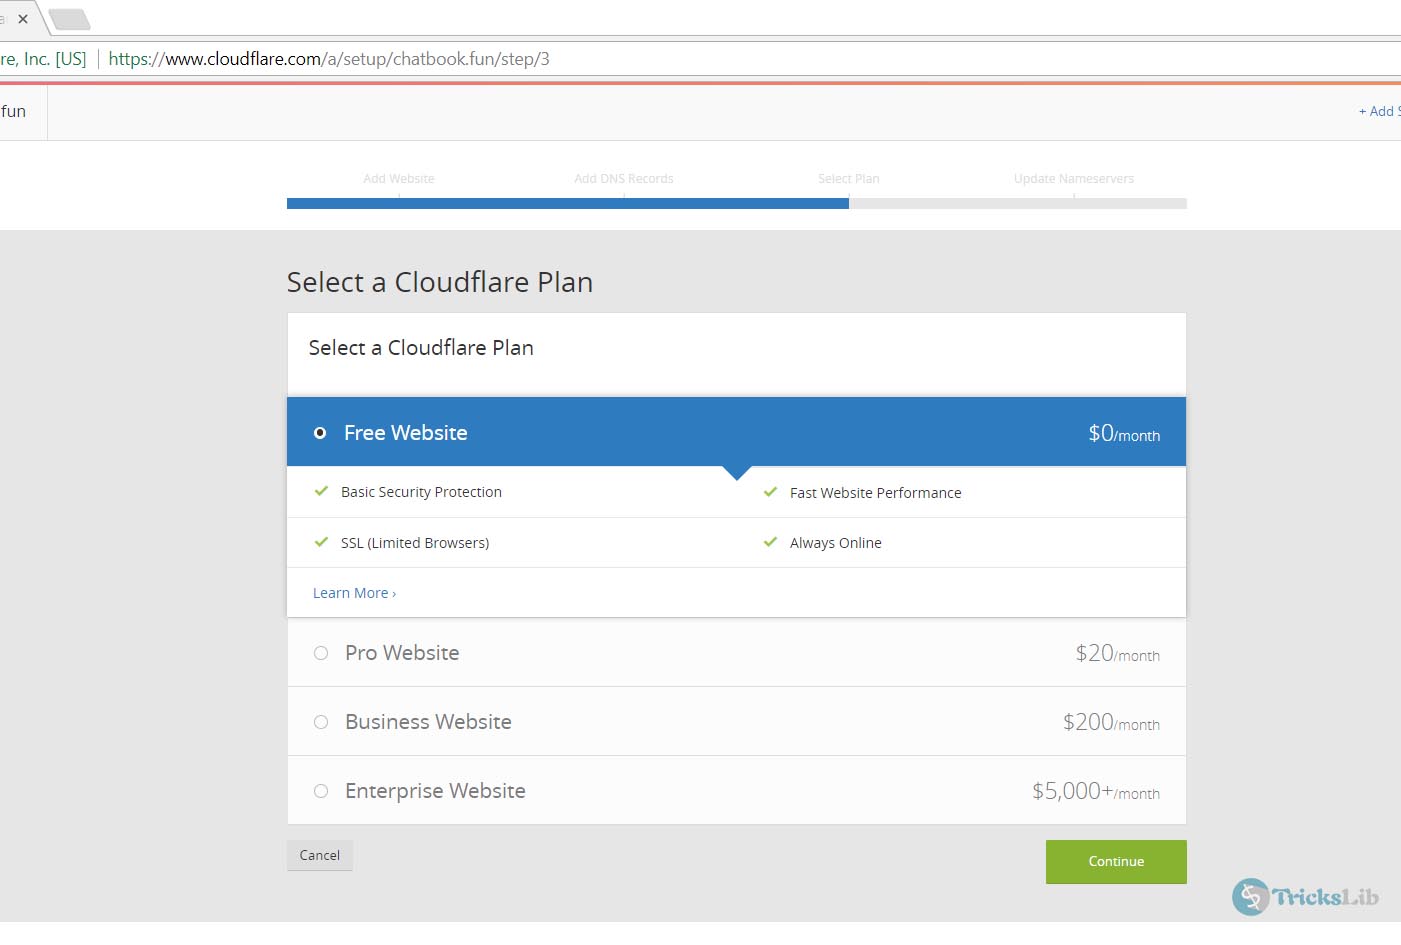
Here, you will be asked for plans, select the free plan and click ‘Continue’ button.
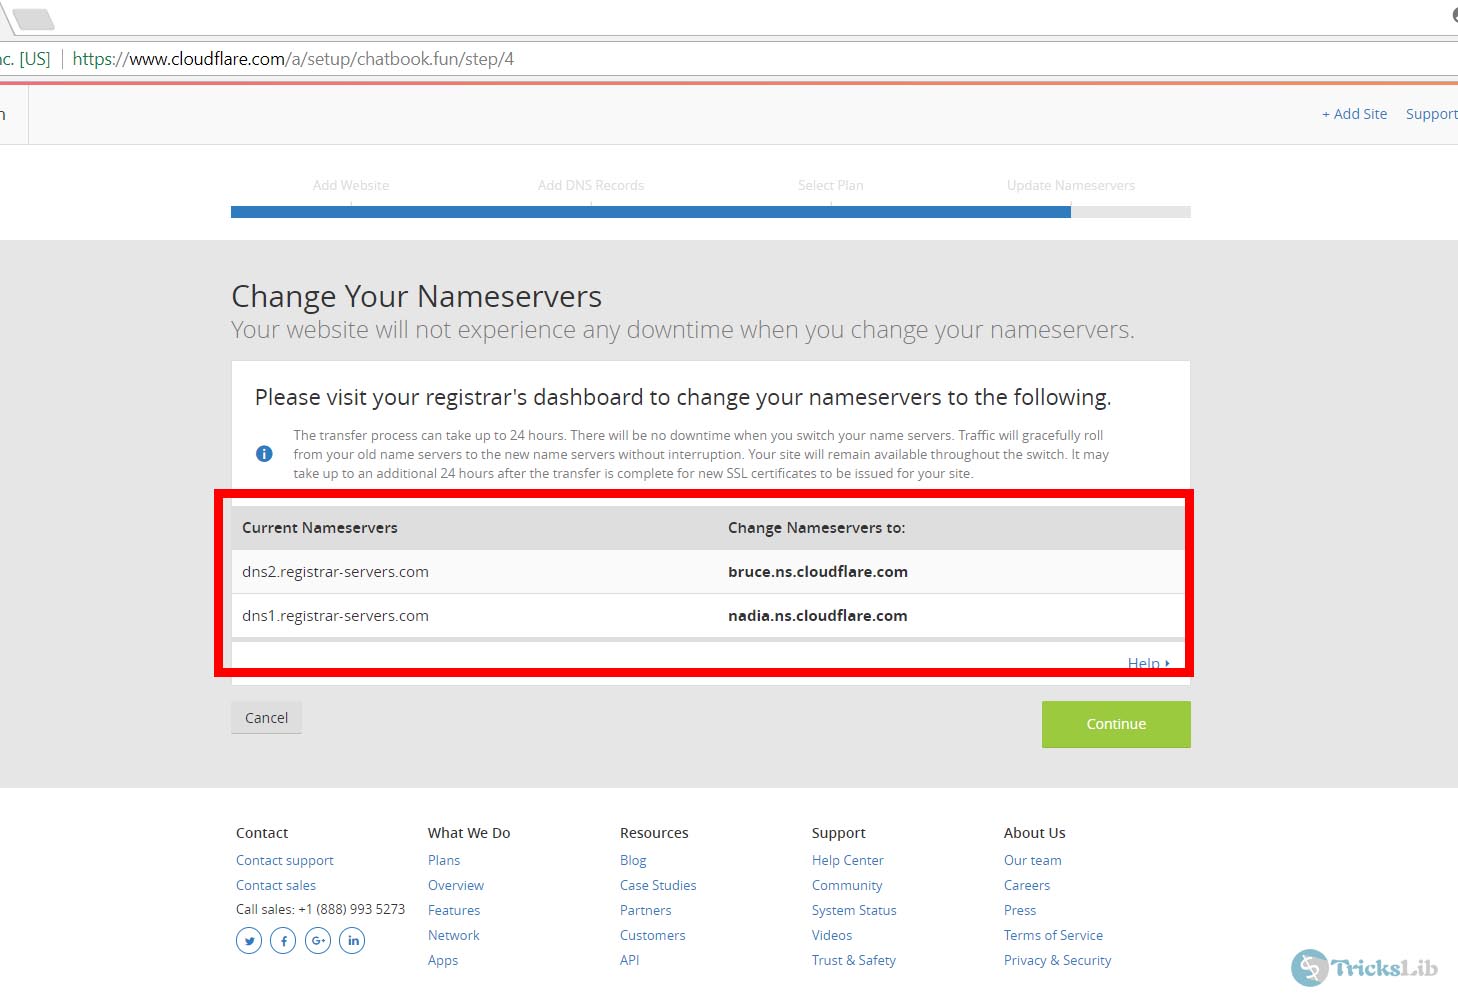
Now here, Cloudflare will show you your old nameservers and ask to change the nameservers which are the on the right side of your nameservers. The nameservers they suggest is not same for all so don’t note above nameservers and you have to check and note which nameservers they’ve suggested. Go to your domain admin panel change nameservers in a new tab and come back to this and click the ‘Continue’ button.
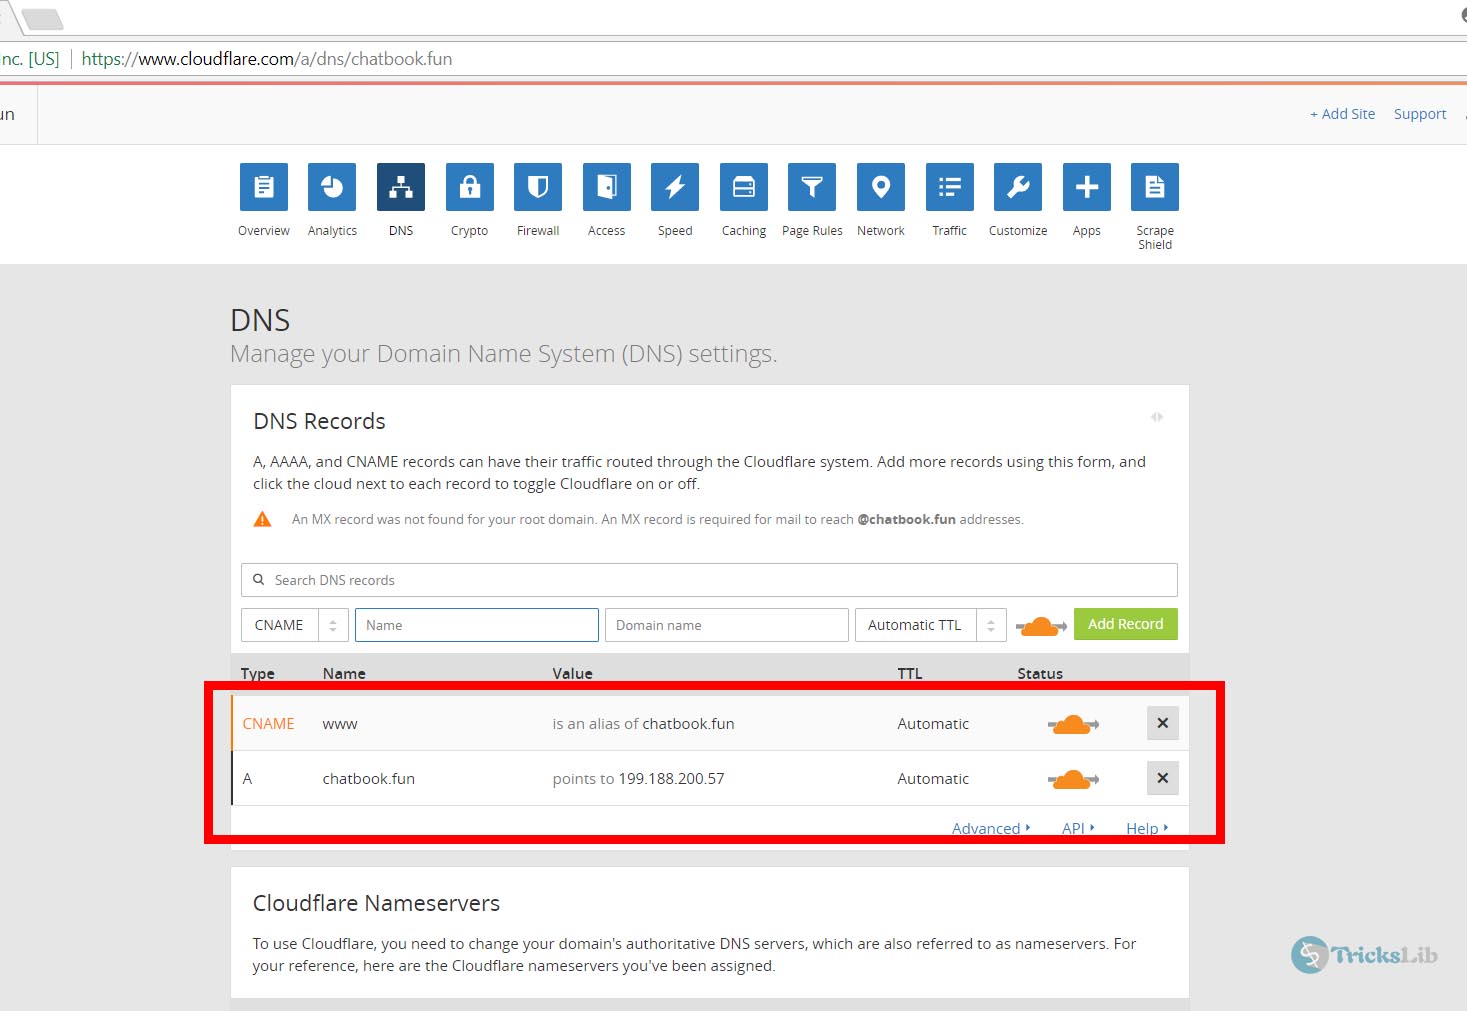
Now go to DNS section of your domain in Cloudflare. Edit or Add the required records for your domain. You should add “A” record for your main domain and a CNAME for the www version of your website Similar to the above screenshot.
If you have any problem in Cloudflare setup feel free to ask us in the comments section.