This tutorial is about How To Create XML Sitemap on WordPress. Sitemap is one of the most important things for SEO. Sitemap helps Google to crawl and index your blog’s all selected pages. After making WordPress blog and writing some posts, making sitemap should next task before submitting your site to google.
However, WordPress doesn’t have this feature inbuilt so we need to some outside methods to make the sitemap.
There are two ways to Create XML Sitemap on WordPress blog. Let’s check where these.
1. Create XML Sitemap various websites.
There are many services on the internet which helps to make/create the sitemap and the XML-SiteMaps.com one of them. We will use this site to show tutorial.
First all, open above link in new tab.
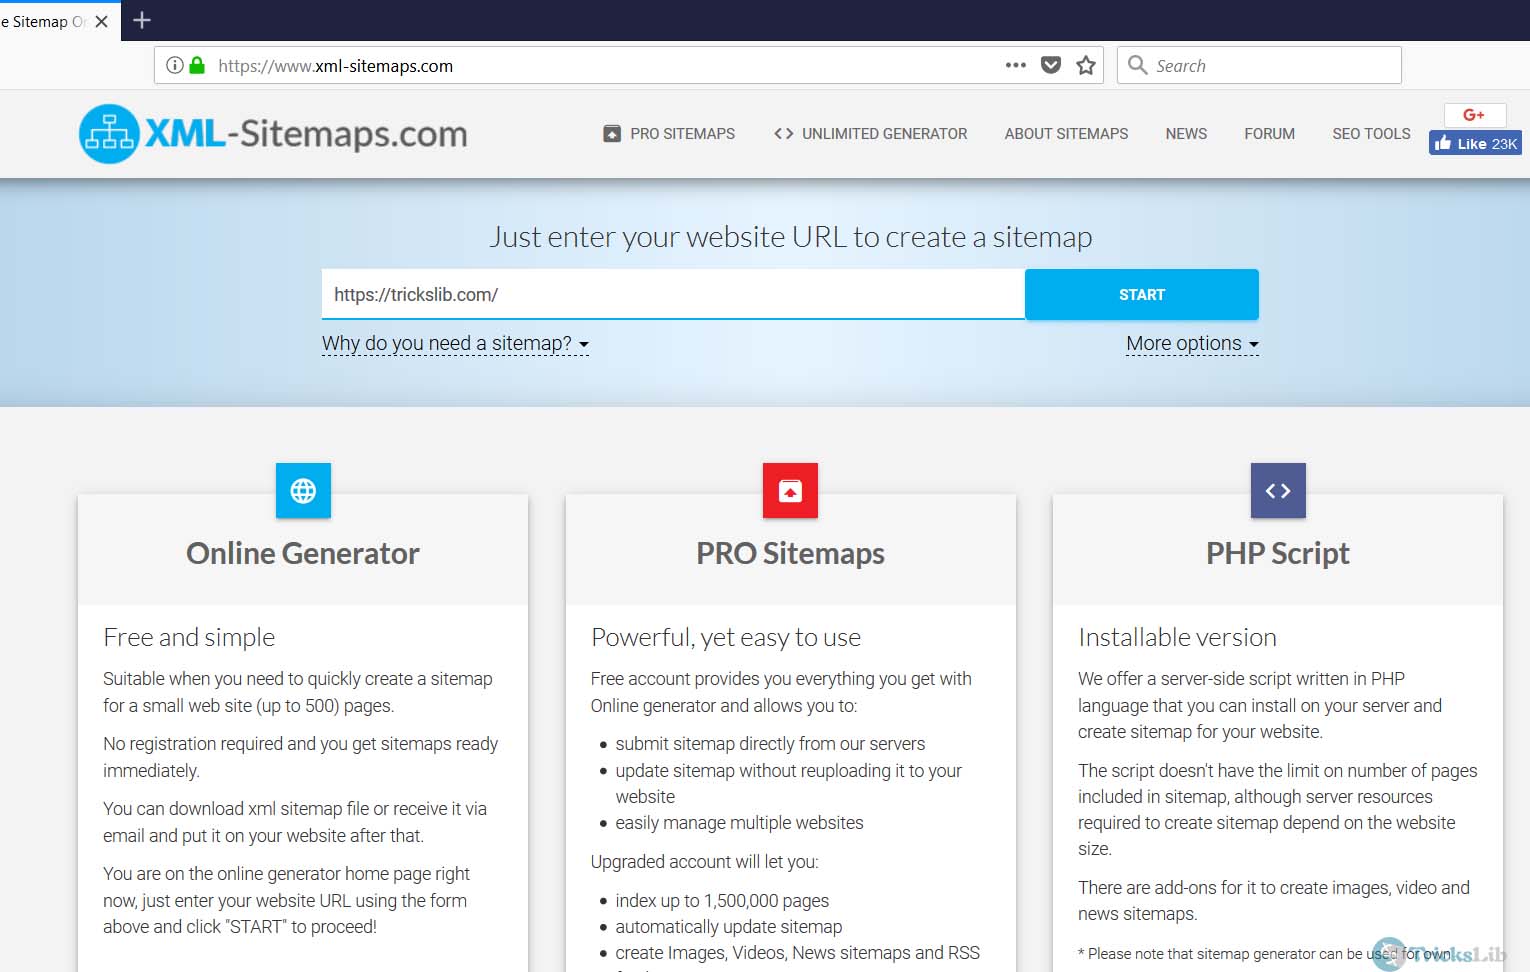
Enter your blog’s URL and press the ‘Start’ button. After a short time, it will show something like below.
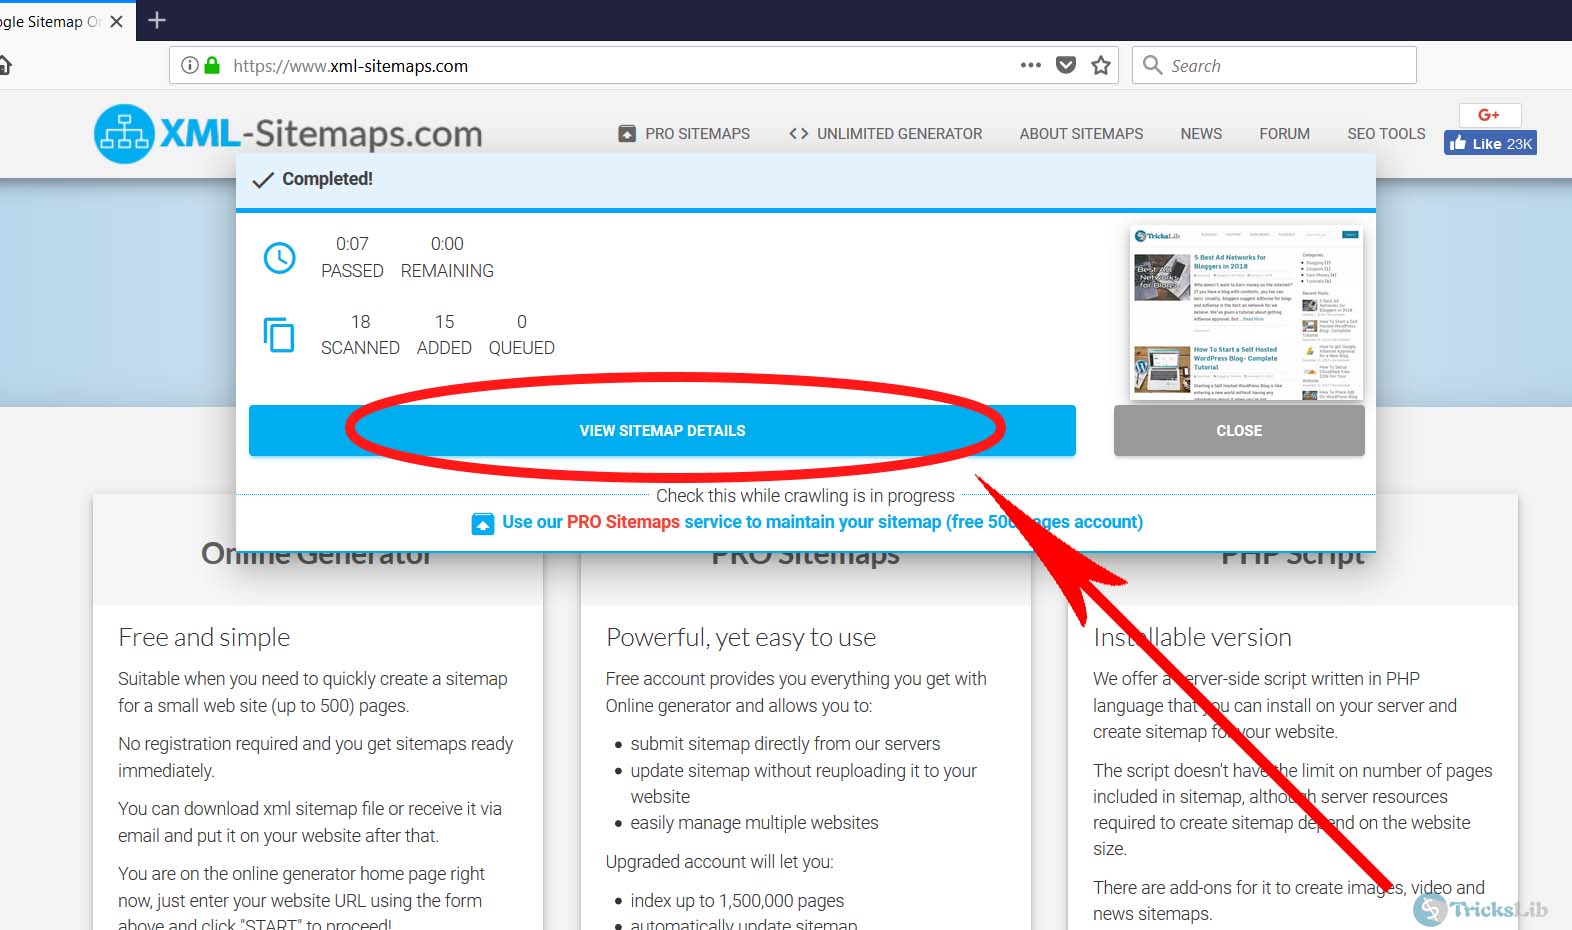
This means the site has crawled the number of pages and your sitemap is ready. Click on ‘View Sitemap Details’ to go on.

The page like this will appear, click on ‘Download’ to download your sitemap than upload it to your server.
Note: This method is not recommended by us to use. We recommend using the below method shown.
2. Create XML Sitemap with Yoast Plugin
You can imagine the popularity of Yoast plugin by knowing the number of active installs. 5 million active installs!
First all, You need download Yoast and install the plugin.
After that, open your blog’s dashboard and get the slider get out and click on ‘SEO’
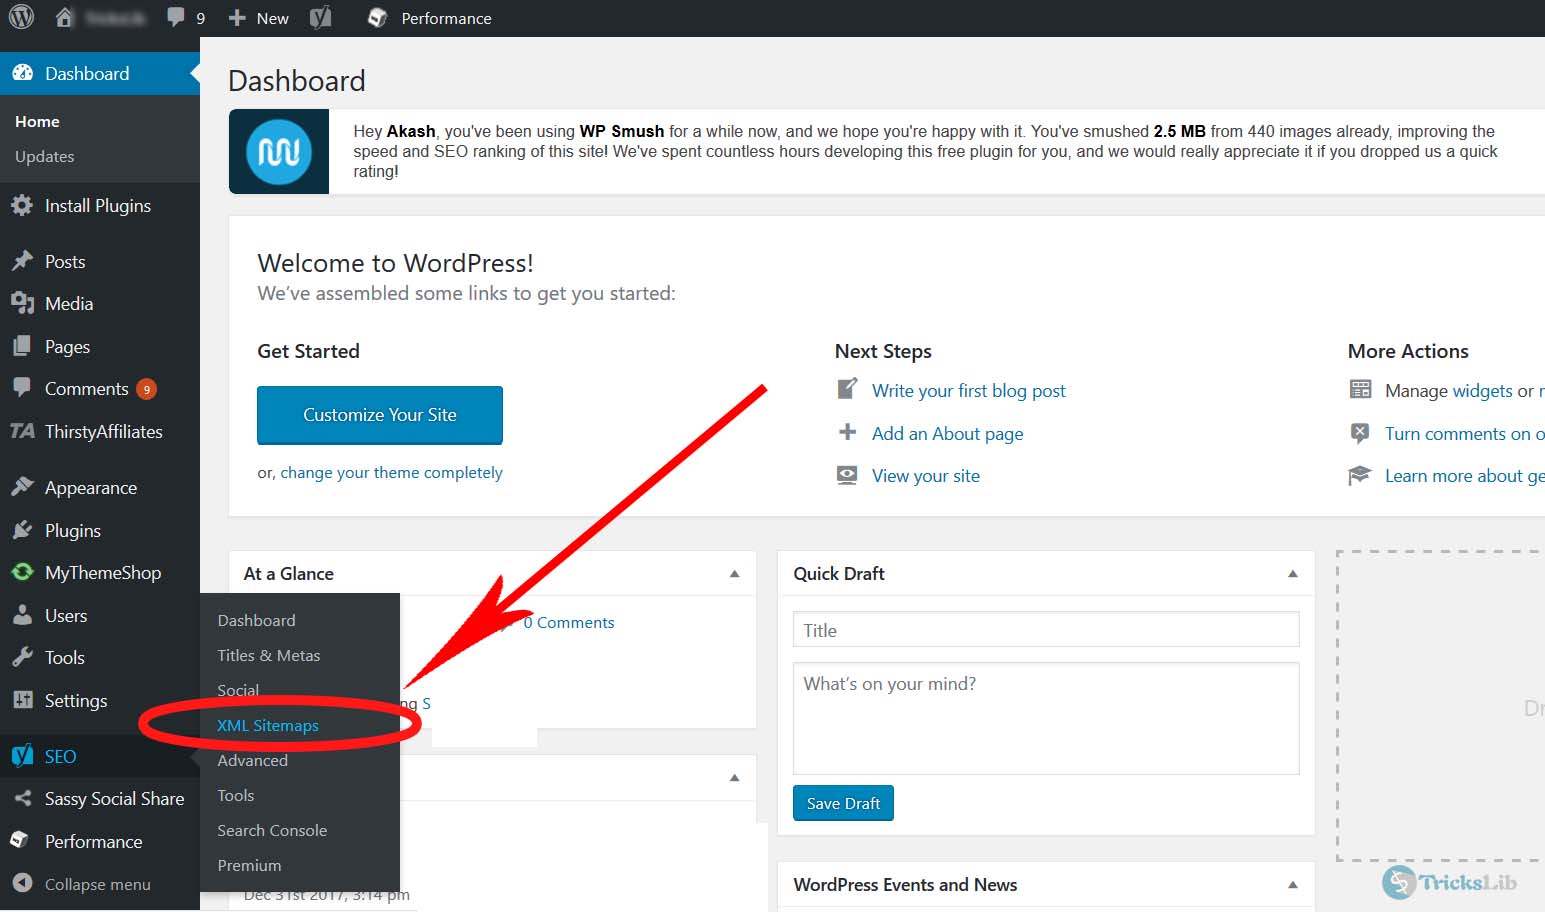
then another menu will come out, click on ‘XML Sitemap’. The below page will appear.
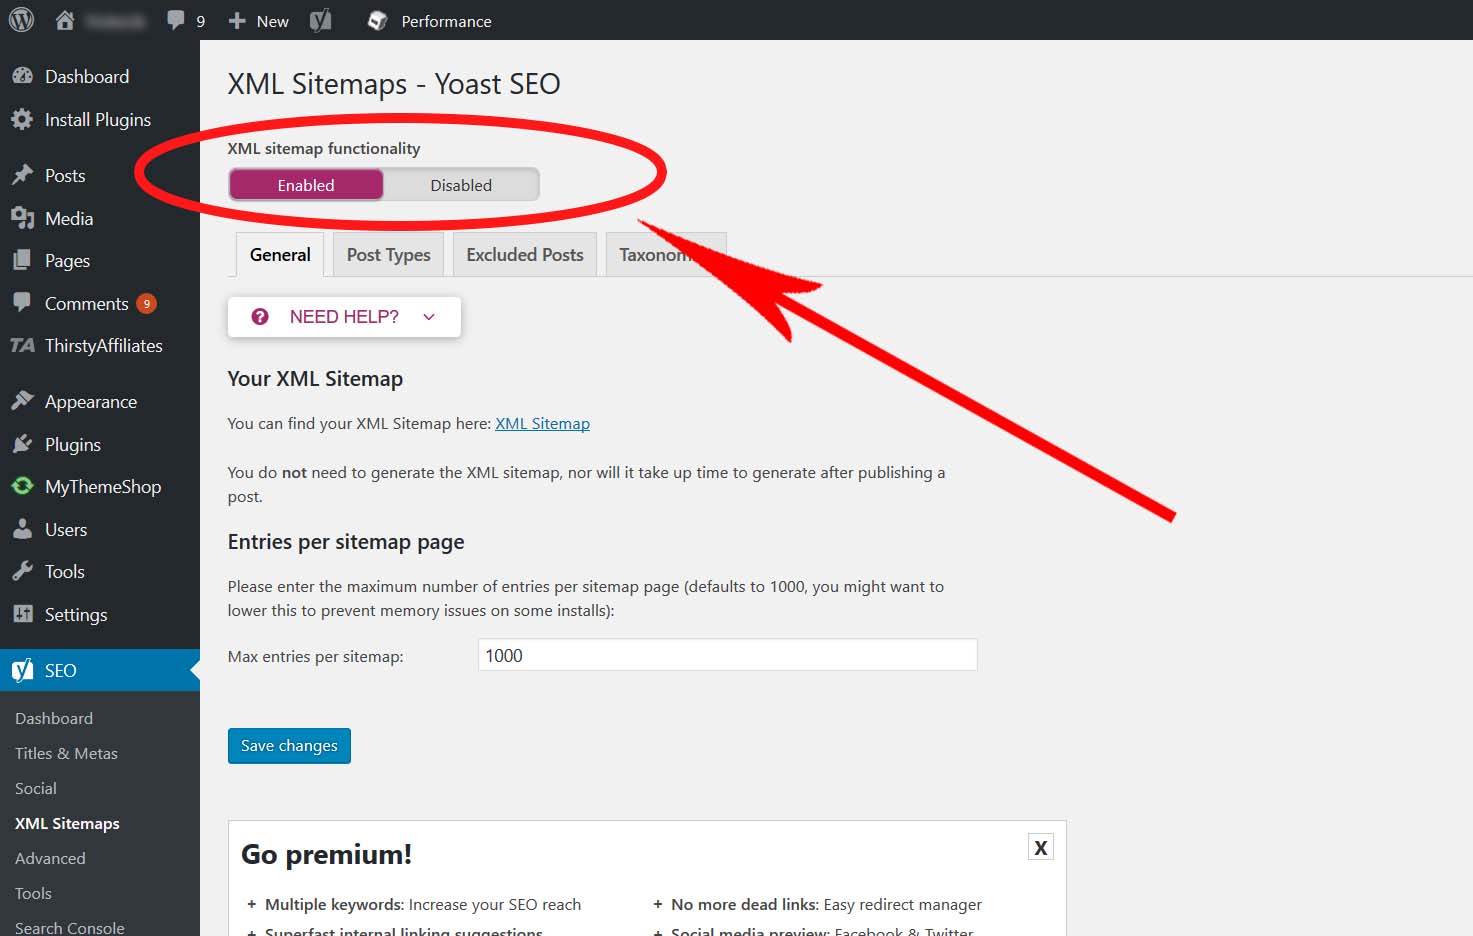
Sitemap feature is disabled by default, enable it.
Now, your sitemap will be ready in few minutes. You can access your sitemap by putting ‘sitemap_index.xml’ at the end of your domain address. Like: yoursite.com/sitemap_index.xml
The best part of this plugin is, it automatically updates your sitemap whenever new pages found.
We recommend above method to use. After making the sitemap, you can submit to Google.